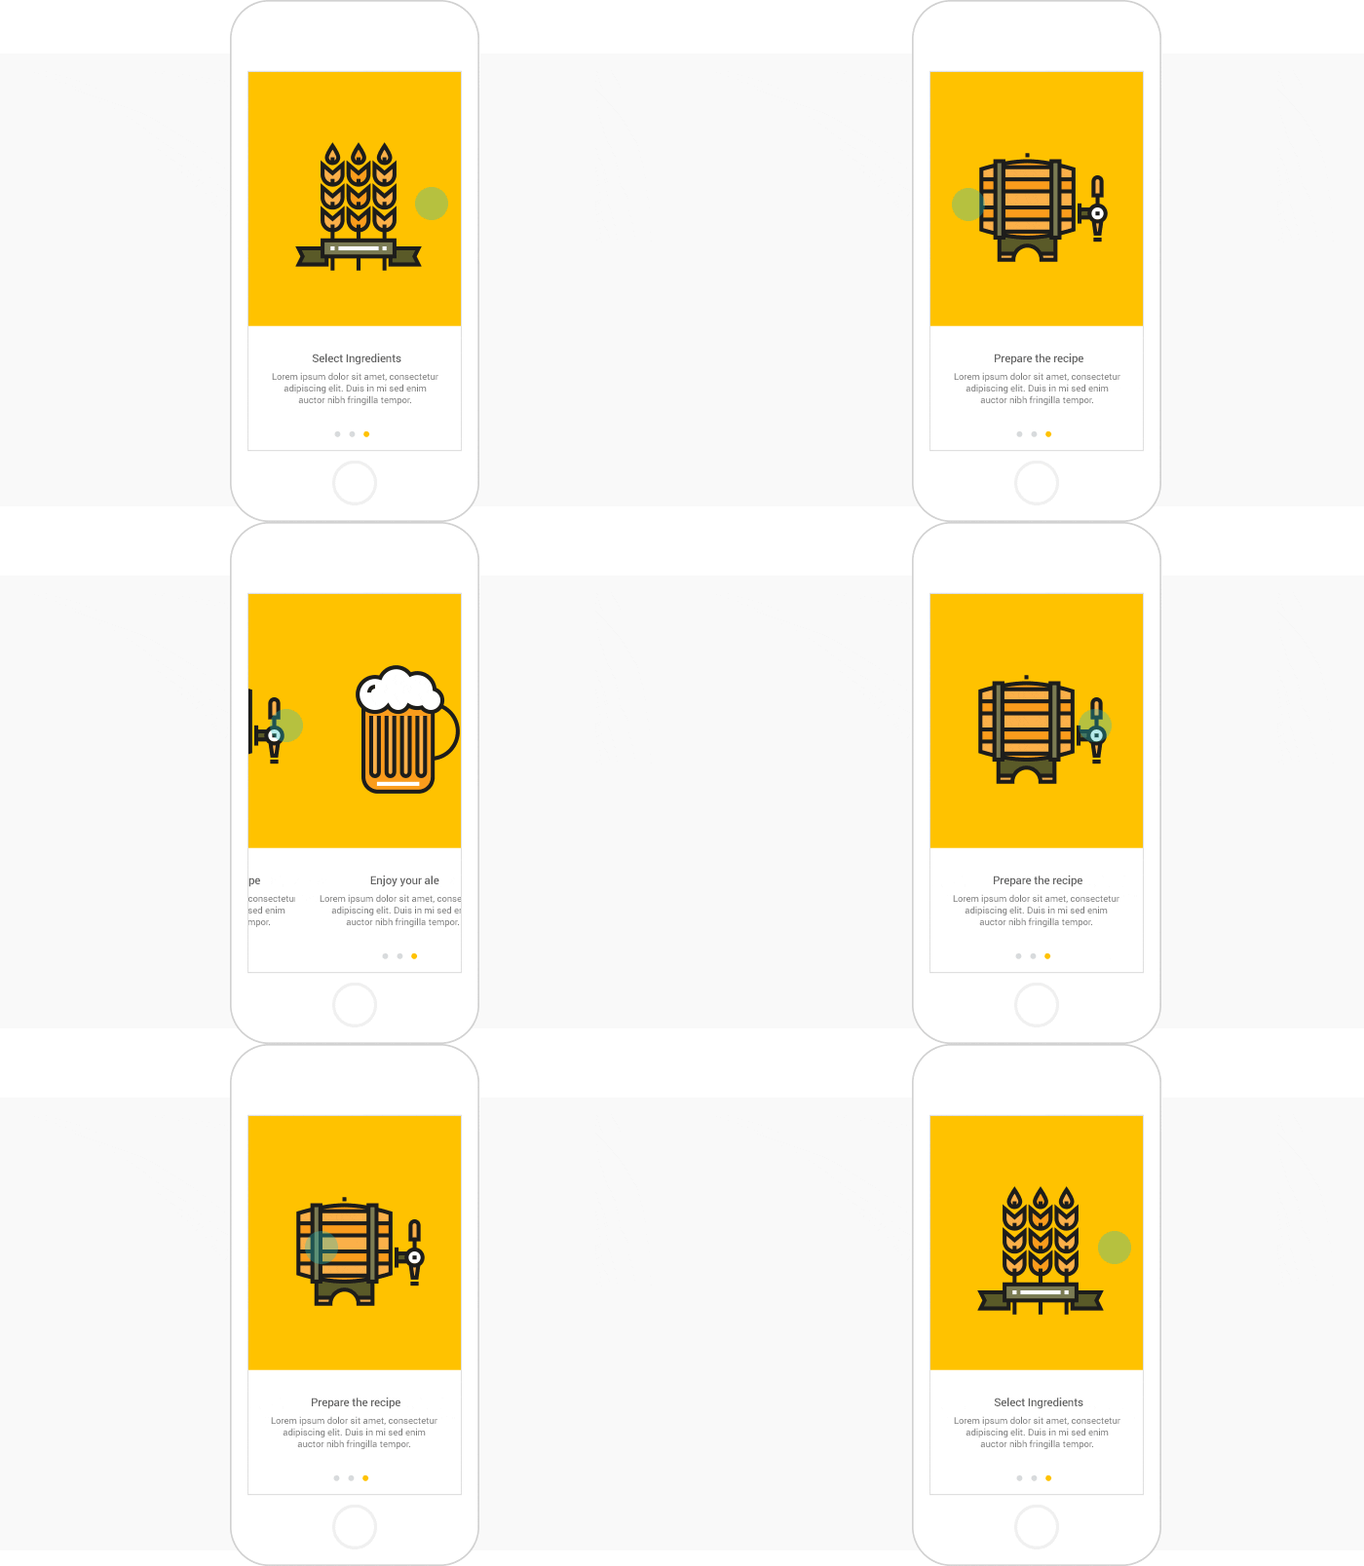
Product walkthroughs can retain users, engender loyalty and boost the user experience. Here are 4 ways to prototype the perfect product walkthrough
As designers, we love to make apps as intuitive as possible. So intuitive, in fact, that users don’t even need any guidance in using the products we create. Some mobile apps and websites are so straightforward that they don’t command much from the user because the functionalities are understood from a glance alone. In Justinmind, you can create a product walkthrough that will impress users and convert them into loyal users.
But this dreamy user experience isn’t always possible. With hundreds of different UI patterns and multitudes of diverse users with varied capabilities, sometimes the UX design needs a little help in the way of a product walkthrough to understand clearly the functionalities of a product.
What is a product walkthrough?
A product walkthrough appears when you use a product for the first time. It’s like someone taking your hand and guiding you through how a product works so that you don’t get confused. A welcome tour, if you like.
The aim of a product walkthrough is to show you the key functionalities of a mobile app so that you don’t get lost when using it. Why is that important? Well, if a user is confused by the app they may:
- Fail to understand its potential and use to them
- Never open it again
- Cry until their friends come to the rescue by uninstalling it from their phone
Benefits of a product walkthrough
Since none of the above is desirable, let’s look at a few pros of the product walkthrough and how it can benefit you in your prototyping process:
- It can show new users how to get their head around some key features of your app
- It can improve user retention (75% of apps are downloaded, opened once and never again)
- It can create a better user experience
- It can convert them into loyal users
Back in the day when a product was launched, there was a hefty user manual included. A manual that would get thrown out only to be replaced with a book from the For Dummies series. A fail by any UX standard. Nevertheless, mobile apps and websites should be designed with ease of use at the front of mind, demanding less from users and reducing the need for extensive explanations. Which leads us to ask: what are the rules for a good product walkthrough?
How to create a successful product walkthrough
Keep it informal
Those user manuals? Too formal. Too bulky. Too much, basically. When you craft a product walkthrough, you want to keep it informal so the user isn’t in any state of anxiety when using your product.
Making the process as smooth as possible will provide a sense of calm for users (remember, you want that retention!).
Never underestimate the power of straightforward microcopy to improve UX either. Simple language and short sentences do wonders. No jargon allowed.
George Orwell’s 5 rules for effective writing have stood the test of time for a reason. Dialogs and popups are another great way to keep your walkthrough informal and give users the necessary information at a glance. Let’s put those writing tips to use.
How to prototype dialogs and popups in your hi-fi wireframes in 5 simple steps
- In a new prototype, drag a nifty Dynamic panel straight onto a fresh canvas.
- Set the background colors and border to your liking within the Properties tab.
- Insert a text widget. Now you can write an instruction, a helpful prompt or a notice. Add an X so that users know that they can close the dialog box. You can choose an X from the default widget libraries within Justinmind.
- Select the Dynamic panel that you placed earlier. In the events tab, add an events button and choose ‘on drag’ + ‘move’ event. Once done, add another event, this time ‘on click’ + ‘hide’ action and select the Dynamic panel in the outline tab.
- Click OK and simulate!
You can also animate your dialog so that it’s more interactive and dynamic by selecting an effect.
If you’re not quite ready to make a digital prototype yet, don’t worry. Many design teams start out with something as simple as a paper prototype.
Follow a logical sequence
You don’t want your users to get to step three when they haven’t completed step one. That’s just an illogical workflow and will have your users running straight for the nearest exit before you can shout ‘launch!’
To avoid this mishap, you can employ some useful tricks. Tricks like swiping and animation. Swiping is a very intuitive way for users to make their way through a walkthrough and is found in many mobile apps.

Swiping can be used to create to build a narrative, a step-by-step instruction sequence or to explain key functions of your app quickly and effortlessly.
How to create a walkthrough in your interactive high-fidelity prototypes
- For this, you’ll need a Dynamic panel. Drag one onto your canvas. Add multiple panels. These additional panels will represent the screens/content that the user will swipe along as they make their way through the product walkthrough. Add the content and imagery you wish to use into the panels.
- When you have determined how many screens your walkthrough will have, look to the widgets panel and place the same number of ellipses onto your canvas. Resize accordingly. Place below content.
- Make sure the ellipses are varied in color so people know which screen they are on. Each ellipse corresponds to the screen that the user is on.
- Add events to your panels to make them interactive within the events tab. In this case, you want to use ‘on swipe left’ + ‘set active panel, selecting panel 2 and so on. Add a ‘slide left’ transition effect to move to the next screen.
- Add events to your ellipses, using ‘change style’ and ‘swipe right.
Use an obvious (and beautifully designed) call-to-action
When creating a product walkthrough, using an obvious call-to-action button is necessary. In Justinmind’s app wireframe tool, you have the benefit of being able to add a Sticky Element to your mobile wireframe.
A Sticky Element stays on the screen even when you scroll – great for keeping the focus on that all-important call-to-action button and driving up conversions.
After a walkthrough, you might want the user to sign up to your product or service so having the call-to-action button present at the bottom as they are guided through your app is a great way to keep it at the front of their mind.
How to add a sticky element to your mobile wireframe in Justinmind
- Drag a Pinned layer widget from the Parallax elements library onto a new prototype canvas.This widget is dynamic and its content editable.
- Write a compelling call-to-action. You can also change the colors of the box to make it stand out more.
- Add Events to link the call-to-action to another screen where you want to guide the user to sign up or give their information.
To make your product walkthrough even more interesting and engaging, don’t miss our 5 step guide to prototyping with parallax scrolling. Parallax scrolling would work well with unique illustrations in your product walkthrough to give it a handmade feel.
Make your product walkthrough compelling
It’s important to create a product walkthrough that users want to get to the end of. That means slick copy, a logical sequence and a bold call-to-action. To put the cherry on top of this proverbial UX cake, you can employ gestures and transitions.
These transitions are a way to turn the mundane into the marvellous. And motion effects help to boost usability. You can add transition effects to your interactive wireframes in a few different ways.
How to add transitions and gestures to your product walkthrough
- Create a new prototype and add as many screens as you want.
- Drag an image or design you’ve previously created into each screen.
- Select the first images and look towards the events tab.
- Add a gesture from the pre-defined gestures. In this case, you can use ‘on swipe left’ and ‘link to’, you want to link to the next screen here.
- Now pick the next screen and under events, select the transition effect ‘slide left’. Do this for all consecutive images and you’re done.
These 4 steps will help you to craft a product walkthrough user experience that users will be eager to get through. When creating a product walkthrough always keep in your mind that this is the first time your users will encounter your product so making a good first impression counts. After all, there’s little chance you might get a second. Good luck!
Related Content
 Why should you use user personas and how do you create them? Get all the steps to build one, as well as a great example and a list of user persona generators!15 min Read
 UX design books that cover everything from layout design to the theory of user testing. Want to expand your horizons? Check out this awesome list!9 min Read
 UX design portfolios are your chance to showcase your top skills and best work. Check out this post for awesome portfolio examples and websites!10 min Read


